Creality K2 Pro Combo Unboxing & Setup Guide: From Box to First Print
Introduction:
Unboxing a Creality K2 Pro Combo is the first step to unlocking a smooth 3D printing experience. Whether you’re new to 3D printing or upgrading your setup, this guide covers the essentials to get your printer ready in minutes.
1. Unboxing the Creality K2 Pro Combo
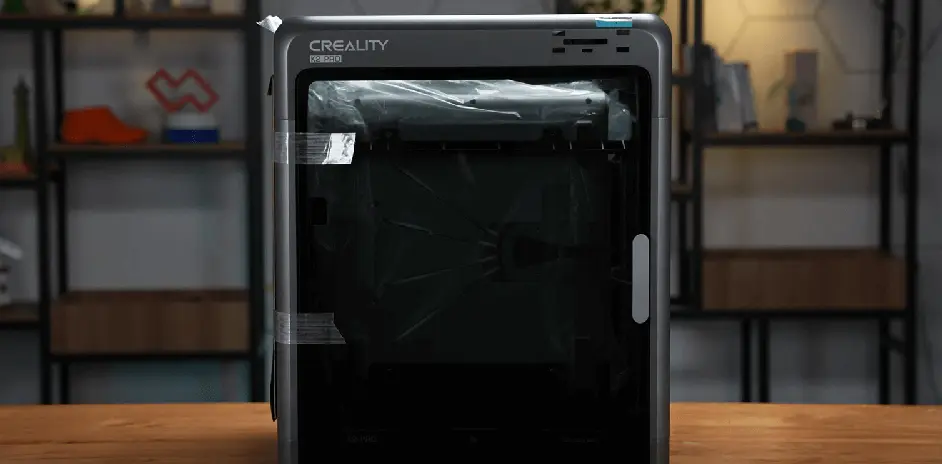
The printer is packed securely with foam and accessories neatly arranged.
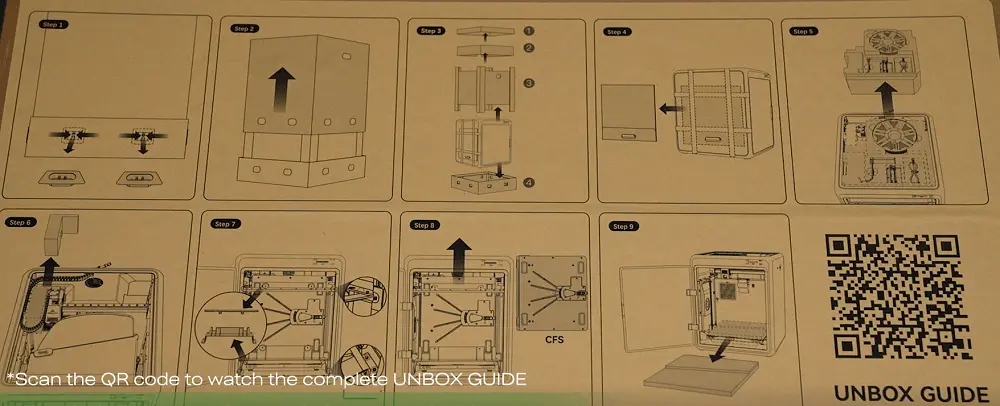
- Unclip the eight clasps
- Remove the top cover
- Take out the printer and its parts
- Remove any foam, screws, or stickers before moving ahead.
2. Quick & Easy Assembly
Simple Setup:
- Attach the touchscreen by putting it into place.
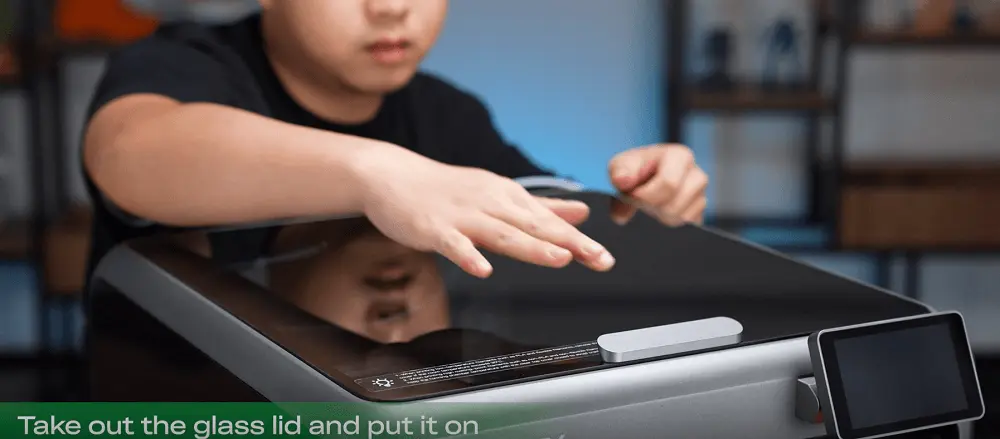
- Place the glass lid and install the CFS (Creality Filament System) on top.
- Fix the filament buffer with screws at the back.
- Connect PTFE tubes and 485 cables between the printer, buffer, and CFS.
3. Starting Up
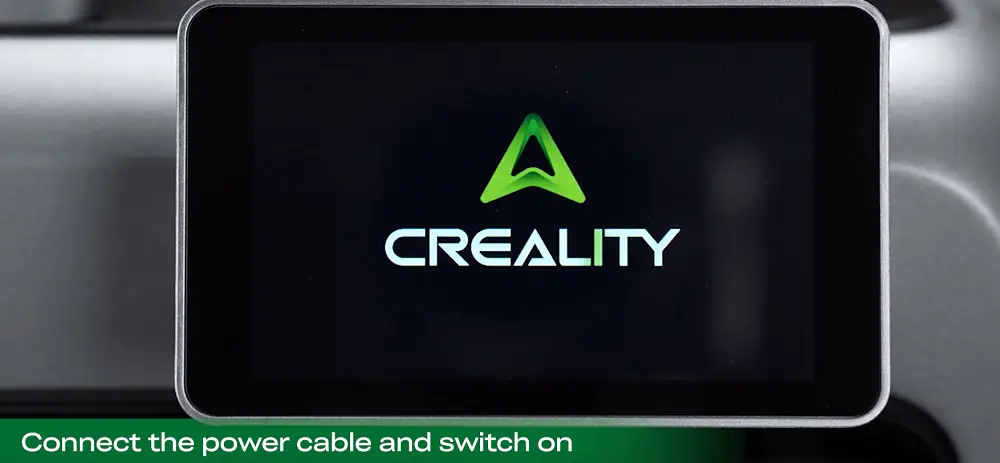
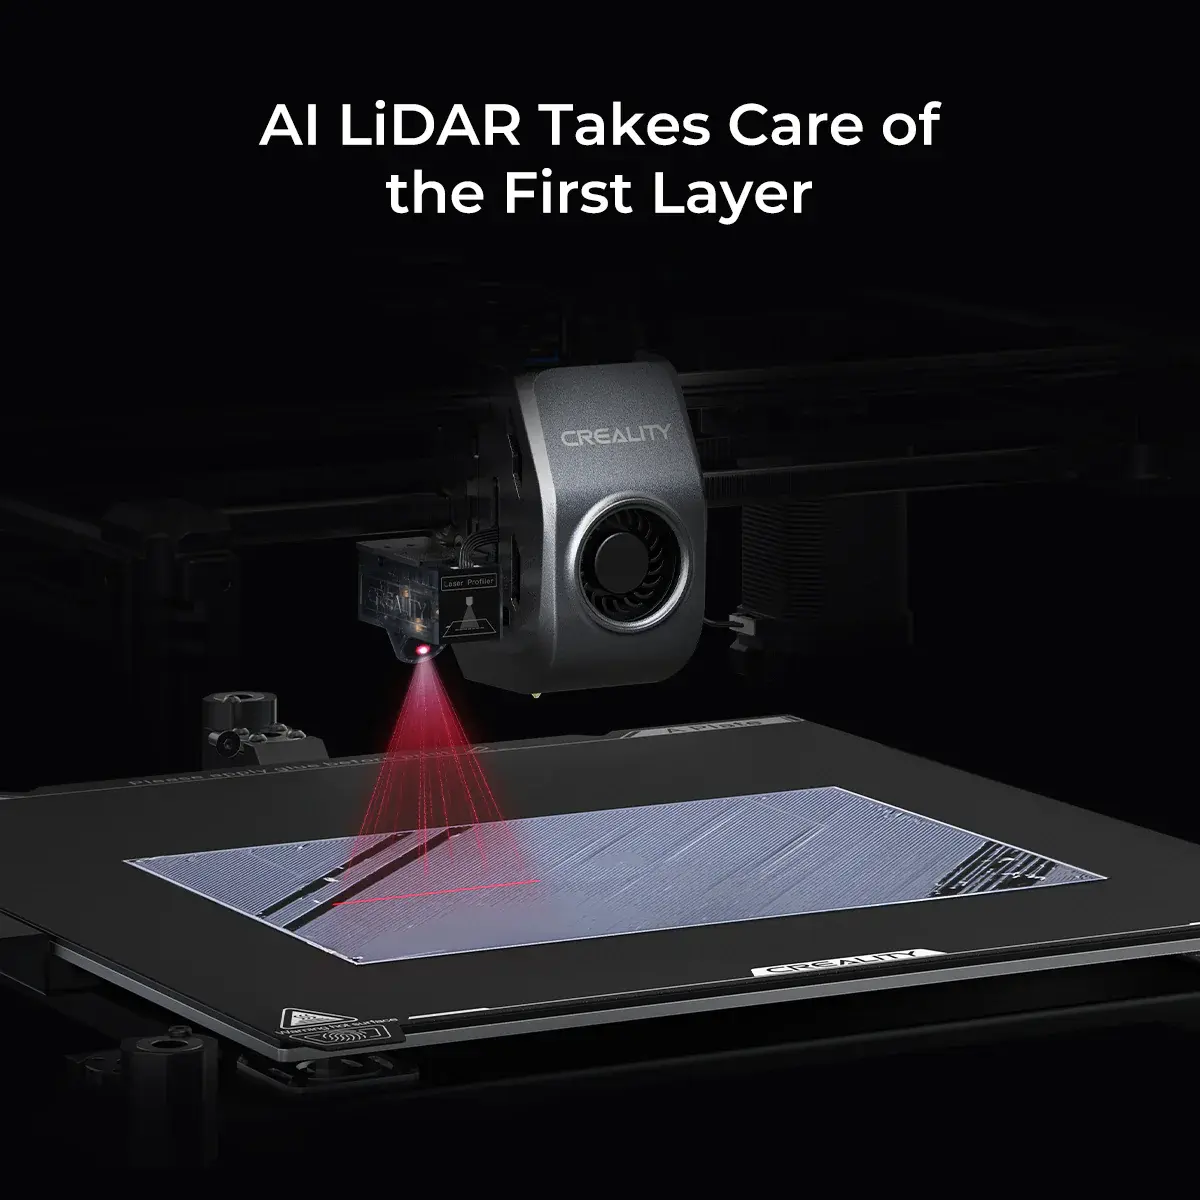
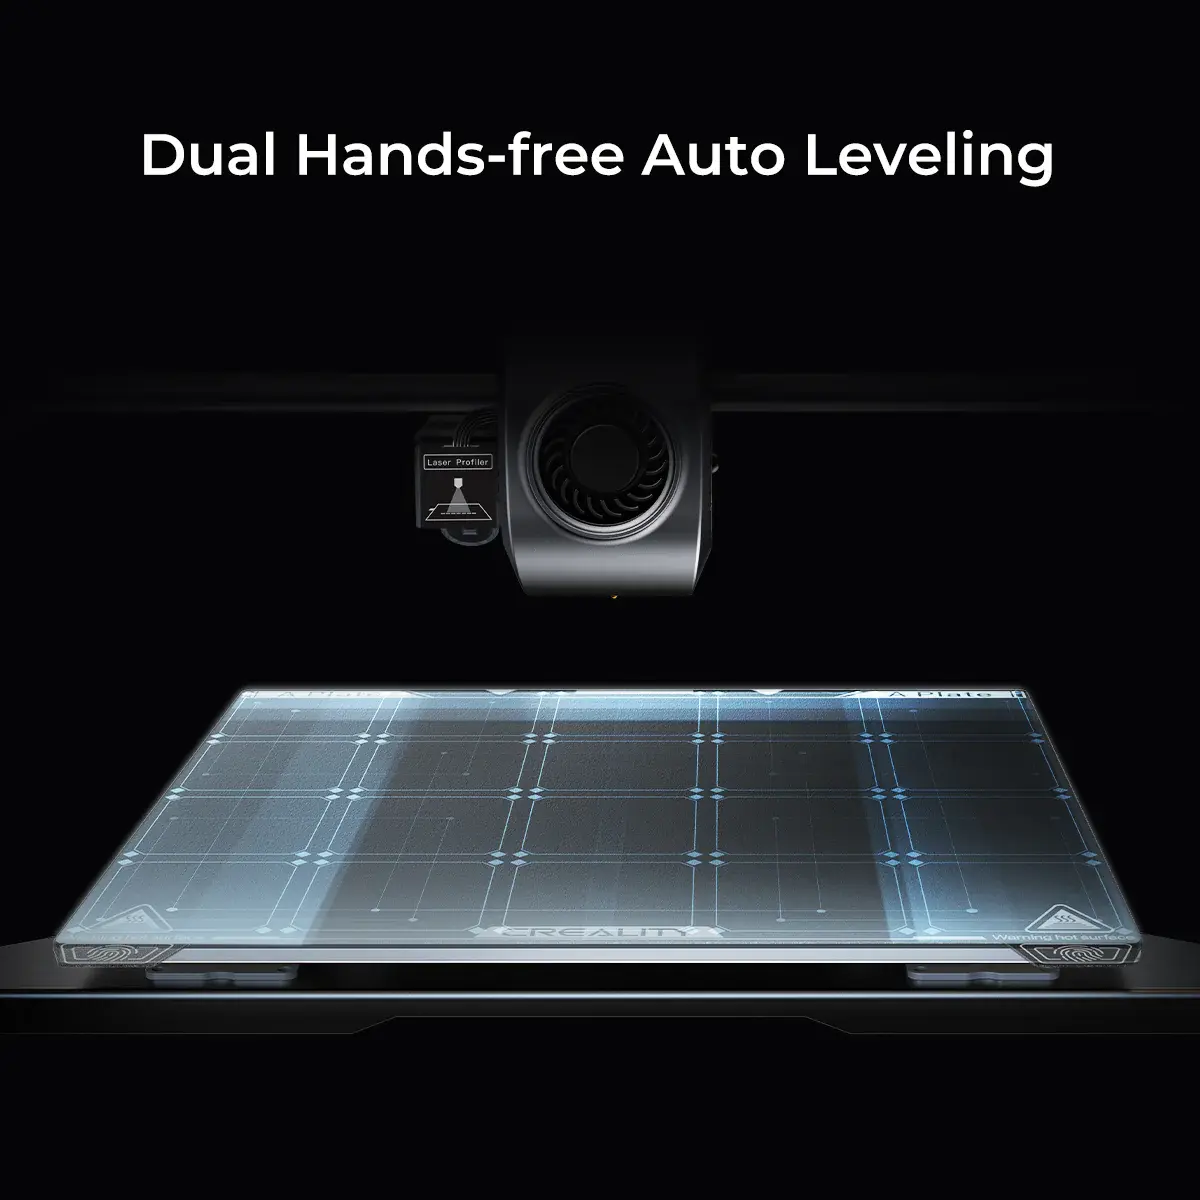
Plug in the power cable and switch on the printer. The K2 Pro has an automatic self check ability, making sure everything is ready. Once check up is done, remove the bed foam and insert RFID filament for automatic detection or enter filament details yourself.
4. First Print Made Simple
Select a sample file like 3DBenchy from the touchscreen. The system will handle the rest, you can enjoy your first print without any complications.
Why Choose the K2 Pro Combo?
- East unboxing and assembly.
- RFID filament recognition saves time.
- Clean design with CFS and buffer system.
The Creality K2 Pro Combo makes starting with 3D printing effortless, perfect for beginners and enthusiasts alike.
